Build an Honest Phone Photo Sequence for a Vehicle Sale
A striking vehicle photograph can draw attention while leaving basic questions unanswered. The opposite problem is a folder full of close-ups that never shows how the details fit together. For a sale enquiry, plan a sequence that introduces the whole vehicle, explains its features and makes known wear easy to locate.
You can organise that sequence with a phone and a simple shot list. The aim is a readable account of the vehicle's present appearance, rather than a dramatic image that stands alone. Keep the photographs connected to the written description and preserve the original files so the information remains easy to review.
Match the sequence to the enquiry
The same approach can help with a car advertisement or a motorcycle buyer enquiry. For a motorcycle owner exploring cash for motorbikes options, current overall views and clearly located details give the buyer a useful starting point. Ask what further photographs are needed instead of assuming that a fixed gallery settles an assessment or guarantees an offer.
Start by listing the questions the photographs should help answer. What does the complete vehicle look like today? Where is the visible wear described in the enquiry? Which accessories are fitted, and which loose items are included separately? Those questions provide a better organising principle than taking repeated versions of the most attractive angle.
Keep photography separate from inspection. An image can show a visible mark or identify a feature, but it cannot establish mechanical condition, authenticate every component or confirm that the vehicle is ready for use. Where the description contains a technical finding, connect it to the relevant assessment rather than expecting a photograph to prove it.
Begin with the vehicle as it is today
Use current photographs of the actual vehicle. Older images can help explain a history, but label them clearly and keep them apart from the current gallery. A photograph taken before a change or a new mark should not silently stand in for the present condition.
Plan around a stationary, appropriately parked subject and a position from which you can photograph safely. Do not move, start, dismantle or operate a potentially faulty vehicle merely to improve a photograph. If access to a view is limited, state that limitation and discuss any further requirements with the buyer or an appropriate professional.
Check the background before taking the first image. Remove unrelated personal material from the frame where it can be done without disturbing the vehicle. A simple background helps the viewer find the subject, but you do not need to create a studio or spend money before you can begin.
Give the session a date and keep its files together. If you later add an image, record its date too. A gallery assembled over several months can otherwise imply that every view represents one unchanged moment.
Capture the whole vehicle before details
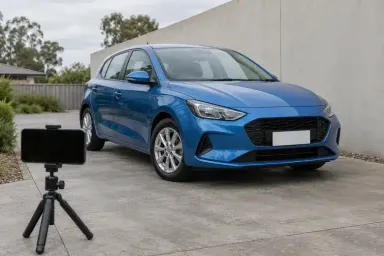
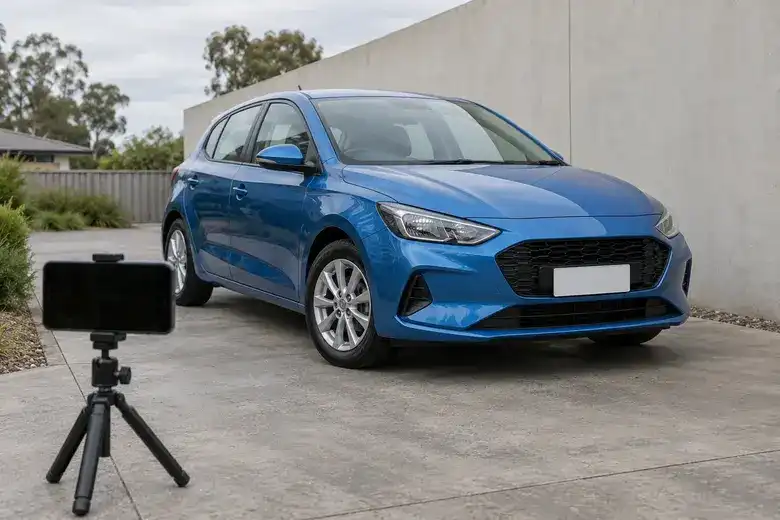
Make an overall sequence that allows the viewer to understand the vehicle from different sides. Include complete views rather than cutting off a wheel, roof edge or part of the body simply to fill the frame. Leave enough space around the subject for its outline to remain readable.
The guide to simple car photo angles provides ideas for planning those views. Adapt the sequence to the actual subject. A hatchback, a van and a motorcycle have different features, but each benefits from a clear introduction before the gallery moves into detail.
Keep camera height and orientation reasonably consistent across comparable views. Review the phone screen for distorted proportions or an awkwardly tilted frame. If the image looks unlike the subject in front of you, try a different safe camera position rather than relying on an edit to correct the impression.
Do not turn the shot list into a quota. Several near-identical pictures may add less information than one missing side view. Choose the images that explain the vehicle, and add a further view when it answers a specific question.
Use light to reveal surfaces
Look at how light falls across the part you are photographing. A bright reflection can hide a surface mark, while a deep shadow can make an ordinary area difficult to interpret. Check the image itself instead of assuming that a pleasant-looking day has produced a useful condition photograph.
For each important detail, aim for a view where the relevant surface can be seen without an overwhelming glare. If the reflection changes as you adjust your safe camera position, compare the images and keep the one that shows the detail most clearly. Avoid selecting a flattering reflection because it makes a known mark disappear.
The site's discussion of lighting for car photography offers broader lighting context. Begin with the equipment and suitable light already available. Additional lighting is only useful if it helps produce a faithful, readable view of the subject.
Treat colour carefully. A warm indoor light and daylight may give the same panel a different appearance. Where colour is important, explain any uncertainty instead of promising that a phone image provides an exact match. Avoid a filter that shifts the finish to a more attractive shade.
Pair each detail with a locator view
A close-up of a scratch is easier to understand when another photograph shows where it sits. Take or select a wider view that connects the detail to a recognisable part of the vehicle, then place the close-up beside it in the sequence.
For a scuffed bumper, the locator might show the relevant rear corner of the car. For a mark on motorcycle bodywork, it might show the complete side and the panel's position. Use ordinary location descriptions so the written notes and image names refer to the same area.
Keep detail captions factual. Describe the visible mark and its position without estimating repair costs or declaring its cause from the image. If a workshop has assessed the area, keep that finding and its scope separate from your own visual description.
Do not hide a known issue among attractive feature shots. Put it where the sequence makes sense and make the associated wording easy to find. The purpose of a condition detail is to explain the subject, not to make the gallery appear complete while leaving the viewer unable to identify the concern.
Distinguish fitted features from loose inclusions
Photograph fitted accessories in context. A wider view shows their position on the vehicle, while a closer image can identify appearance or a visible reference. Avoid claiming compatibility, originality or function solely because a component looks familiar in a photograph.
Keep loose items in a separate part of the gallery. If a spare wheel, panel or luggage set is included in the proposed sale, identify it clearly. If it is excluded or still under discussion, make that equally clear in the description.
A loose part beside the vehicle should not look like a fitted feature. Separate framing and labels prevent the viewer from assuming that everything in the background travels with the sale. Check the photographs against your included-item list before sharing them.
Treat documents as information rather than props. Do not place readable personal details into a public gallery simply to suggest that paperwork exists. Where a relevant record needs to be shared, prepare an appropriate copy for the intended recipient and keep the original private information protected.
Edit for readability without changing the evidence
Keep an original copy before making any edits. A modest crop or straightening adjustment can make an image easier to follow, but compare the result with the original. Confirm that the complete relevant area remains visible and that the edit has not changed the apparent condition.
The vehicle photography guide draws a useful distinction between presentation and changing the vehicle itself. Apply that boundary carefully: do not retouch damage, remove a warning, replace a component or use a generated vehicle image in place of the one being offered.
Avoid heavy sharpening, saturation changes or dramatic contrast adjustments. These can make a surface look different from the original photograph. If a picture needs major correction to explain the subject, a new photograph under suitable conditions may be clearer, provided it can be taken safely.
The guide to mobile photography editing tools provides context for choosing an editing approach. Use only the functions needed for a readable result and review every output. The availability of an automatic enhancement is not a reason to apply it to a sale gallery.
Keep public privacy edits separate from condition edits in your own records. If personal information needs to be obscured in a sharing copy, preserve the original file and avoid covering an area the buyer needs to assess. Explain any relevant omission directly.
Order and label the gallery
Arrange the selected photographs from overall views to specific features and condition details. Keep paired locator images and close-ups together. End with separately included items or other supporting material where it is relevant to the enquiry.
Use simple file references that match your notes. A description such as rear-left bumper mark is more informative than an unexplained camera filename. Keep the side and position consistent, especially when photographs taken from different angles can make left and right easy to confuse.
Review the set as another person would see it. Check whether an overall view is missing, whether a close-up can be located and whether an older image has been mixed into the current sequence. Compare the captions with the written enquiry before sending it.
Ask for specific feedback if the buyer needs more information. A request for a clearer view of one area is easier to answer than repeating the whole session. Add the new image with its date and reference so the sequence remains coherent.
A fictional hatchback gallery
Consider an owner photographing a hatchback with a scuffed rear bumper and a loose spare wheel included in the proposed sale. The first selection contains several attractive front views, one isolated scuff close-up and a photograph of the wheel beside the car.
The revised sequence uses complete overall views, adds a rear-corner locator for the scuff and labels the wheel as a separate inclusion. The owner removes duplicate front views and keeps the original photographs with the edited sharing copies. No claim about the cost of repairing the scuff is inferred from the images.
For a motorcycle enquiry, the same organisational principle applies. Show the actual complete machine, connect a bodywork close-up to its position and identify any loose spare panel separately. The adaptation changes the shot list to suit the subject while preserving the distinction between appearance, condition information and assessment.
Let the photographs support the description
A useful sale gallery has a clear sequence and a clear purpose. It introduces the vehicle, locates the details and keeps fitted features distinct from separately offered items.
Make each image earn its place by answering a real question. Keep the originals, review edits against them and let the photographs support an accurate written account. A coherent gallery should help the viewer understand what is being offered without asking the pictures to prove more than they can show.